Showing posts with label buttons. Show all posts

Saturday, 31 March 2012

Refashion-ista!

A while ago I was feeling a bit glum about my sewing experiences, so I went searching for some inspiration. 
This is what I found - New Dress a Day!
Marisa takes old, worn out dresses and makes them wearable and fashionable again. So I took a leaf out of her book and had a go myself!


I was so excited to get started I forgot to get a 'before' picture. So this is how it went. I bought a womens size 10 'Miss Shop' dress from the Salvation army. Its only cost me $1! The dress is black and white checkered, spaghetti straps and it had an awful ruffle around the bottom. Also it buttons down the front. 


The first thing I did was seam rip the ruffles off, and man oh man did that take a long time! Then I hemmed the bottom (removing 2-3 buttons). I had to take the straps in at the back because it is for my 5 year old daughter, so it needed to be small. 


I put the dress on her inside-out, then I was able to pin the sides so I knew where to sew and cut. 
It was quite dull and boring for a 5 year old to wear, so I wanted to add colour. I added a blue flower with a button center, but it looked terrible. Kind of like those ribbons you win for coming first in something. So I took that off, and replaced it with a mixture of bright pink buttons. Now it's perfect!


Left is the bad, bad flower.. Right is with the pretty buttons. This is only a crappy iPhone shot. Will do a proper SLR shot when Miss Imogen gets home tomorrow.


Zoe
xx

Thursday, 22 March 2012

As Cute as a Button

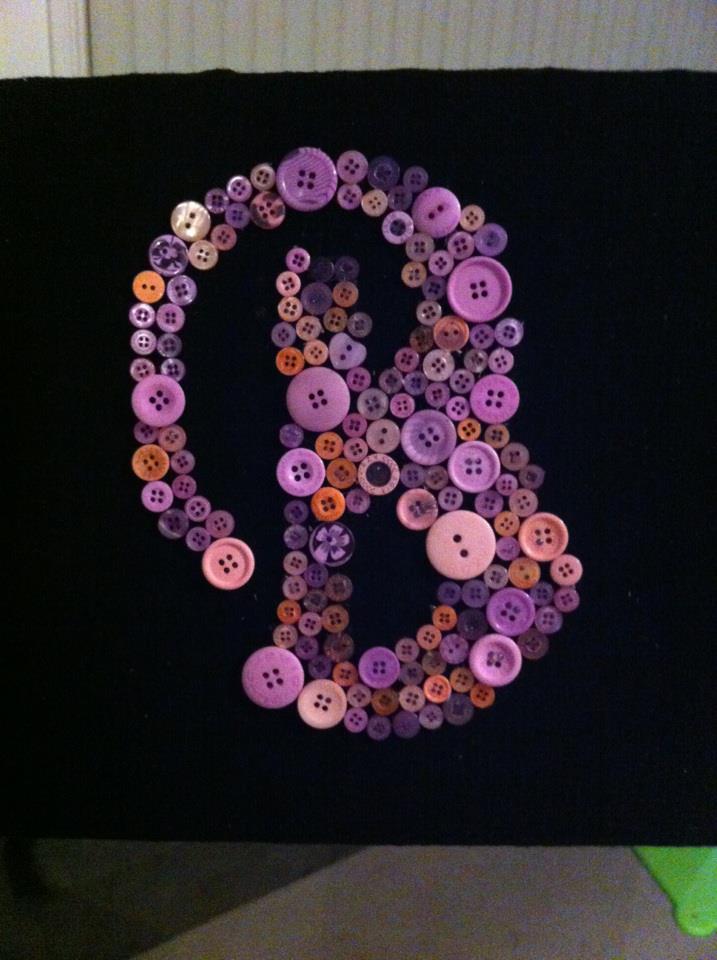
These here are adorable, and the perfect accessory for a childs room. Be it a boy or a girl.
Button Monograms. 

I found some inspiration from Pinterest this post in-particular.

So I went down to my local City Mission and found some old canvas prints ($1.50 each), then i bought them home and re-covered them with old clothes of mine. I used a hot glue gun to stick them down, but a staple gun would work a lot better (I am off to buy one today). I already had buttons that I bought in bulk from my local Chickenfeed store, which is just our cheap store. Kind of like the reject shop.

I used word, then chose my favourite font and wrote in the letter of choice. I made the font 700 and traced it straight from the computer to a piece of paper as my printer is broken, but printing would be ideal. I traced around my letter onto the fabric with a fabric pencil and set out how I wanted my buttons. 

Gluing them on was the most trying thing I had done in a long time. I hot glued them on, which consisted of lots of burnt fingers and stringy glue EVERYWHERE. If you line up how you want the buttons first, you should be able to just pick a button up and glue it back to the same spot without much rearranging. 

Even if its a little frustrating at first, the end product is really rewarding. And the kids love it!

Good Luck ♥
I is for Imogen
B is for Bridget 

Zoe
xx